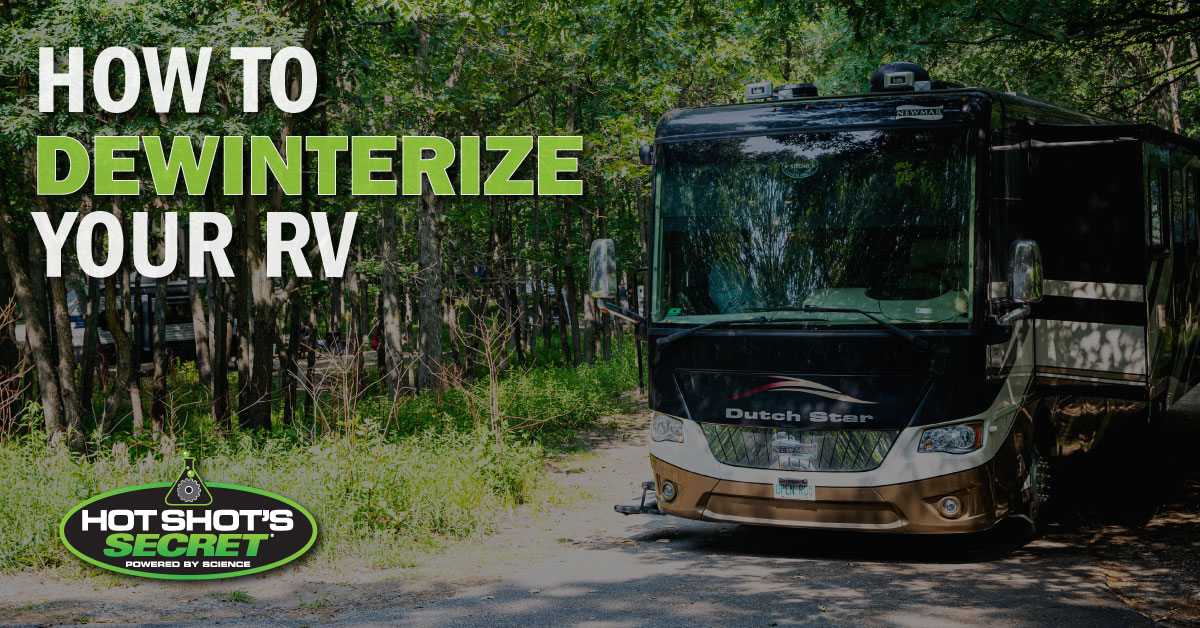
De-winterizing your RV or camper is essential before hitting the road after winter storage. Properly de-winterizing ensures your water, engine and living systems function safely, prevents damage and helps you avoid costly repairs. This step-by-step guide teaches you how to de-winterize your RV for a smooth and safe spring and summer season.
Why You Need to De-Winterize Your RV
If you’ve left your RV in storage for the winter, it’s best practice to de-winterize it before you take it out on the road. Winterization involves adding antifreeze to the water system, draining fluids, disconnecting batteries and securing slideouts. Skipping de-winterization risks engine damage, burst pipes, fuel breakdown, deflated tires and battery failure. Proper de-winterization restores safety, comfort and fuel efficiency.
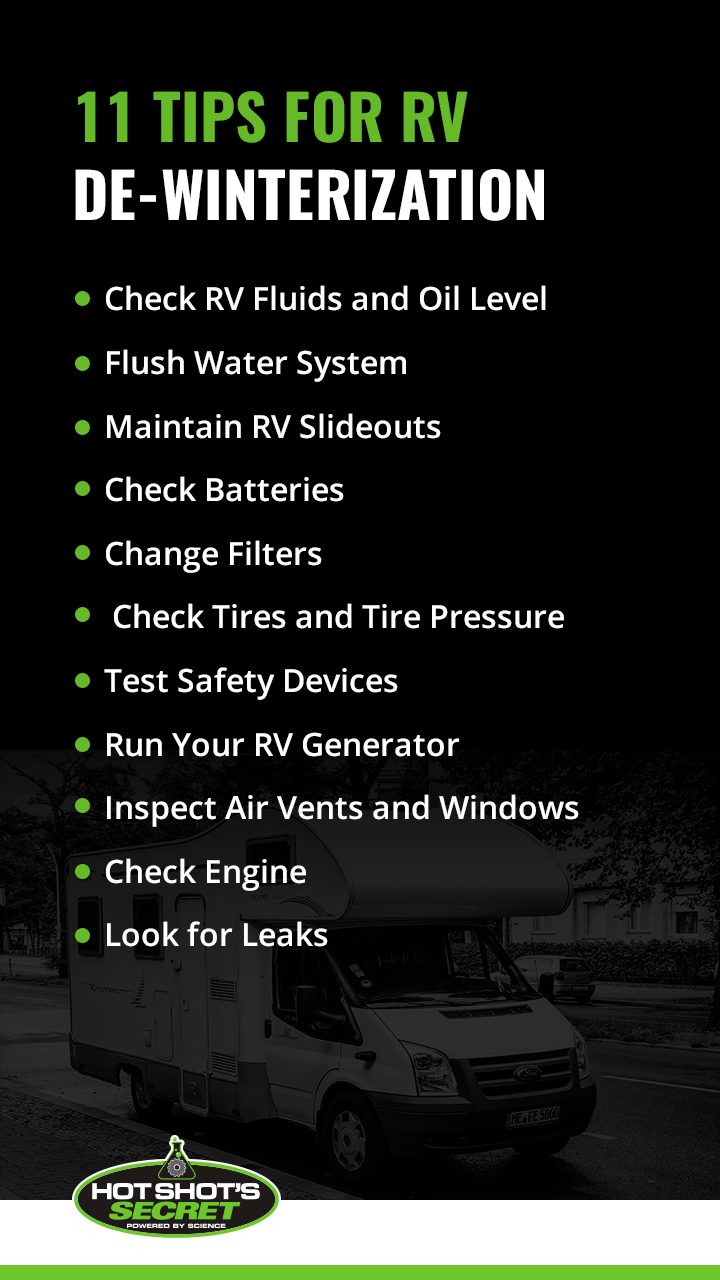
11 Tips for RV De-Winterization
Step 1 — Inspect and Charge Your Batteries
During winter, your RV batteries lose charge from self-discharge. Test voltage with a multimeter. A fully charged 12-volt battery reads 12.6 volts or higher. If the voltage reads below 12.6 volts, charge by connecting the RV charger to the battery and letting it run until fully charged. Check the battery’s water level and add distilled water if needed. If you uninstalled batteries for storage, reinstall and ensure proper connections.
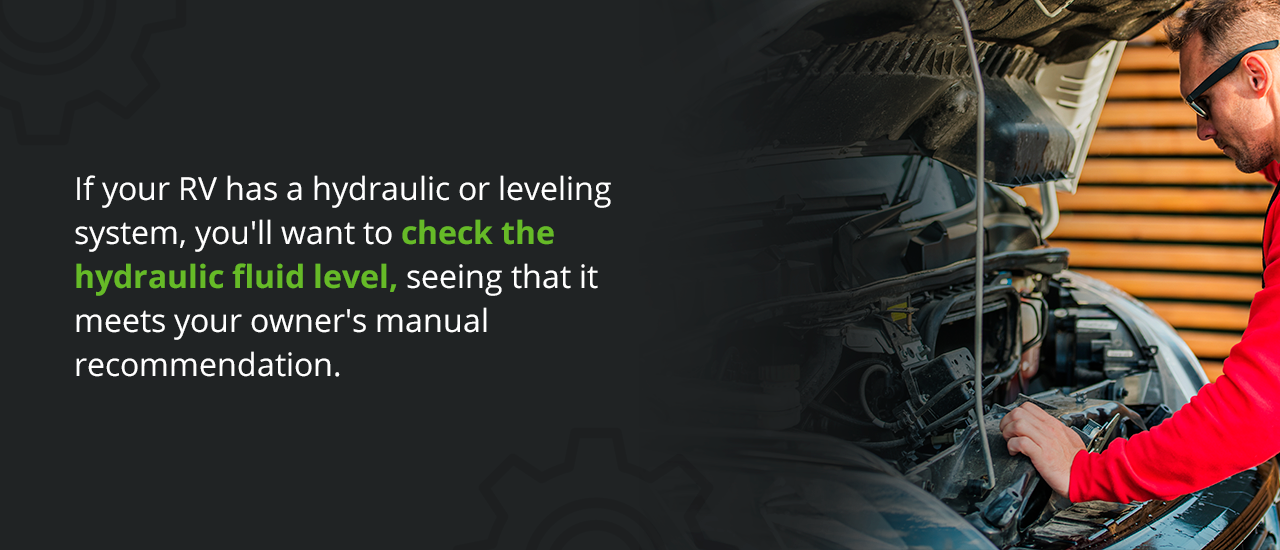
Step 2 — Check and Refill Fluids
Your RV runs on various fluids, such as windshield, brake and power steering fluid and engine and transmission oil. Before you fire up your RV and take it on a trip, check the level of these oils and fluids. Your owner’s manual has information about the right levels.
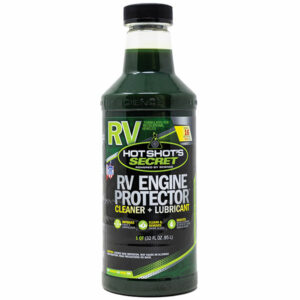
If levels are low, refill to appropriate amounts. Ensure coolant is at appropriate levels. Consider adding Hot Shot’s Secret RV Engine Protector to the engine oil, formulated with proprietary nanocarbon technology to help reduce wear and support engine longevity.
Step 3 — Flush the Water System
When you winterized your RV, you added antifreeze to stop pipes from freezing. Flush your water system to remove all antifreeze. Turn your water pump on and run water through all showers, sinks and faucets. Flush the toilet while the pump runs. Once water runs clear, turn off the pump and close faucets. Replace water filter cartridges and take your water heater off bypass mode.
Step 4 — Inspect and Lubricate Slideouts and Awnings
Ensure slideouts can fully open and close, sealing properly. Check if the leveling jacks retract completely. For RVs with awnings, verify that they open and close fully and that the fabric is in good condition. Use Hot Shot’s Secret RV Slide-Out Lubricant on slideouts for smooth operation. Pull out slideouts and spray gears and tracks.
Step 5 — Check Tires and Tire Pressure
When your RV sits in storage for winter, tires lose around two to three psi per month. Check air pressure using a tire pressure gauge. If tires aren’t at the recommended pressure, reinflate them. Inspect tires for worn treads and sidewall cracks.
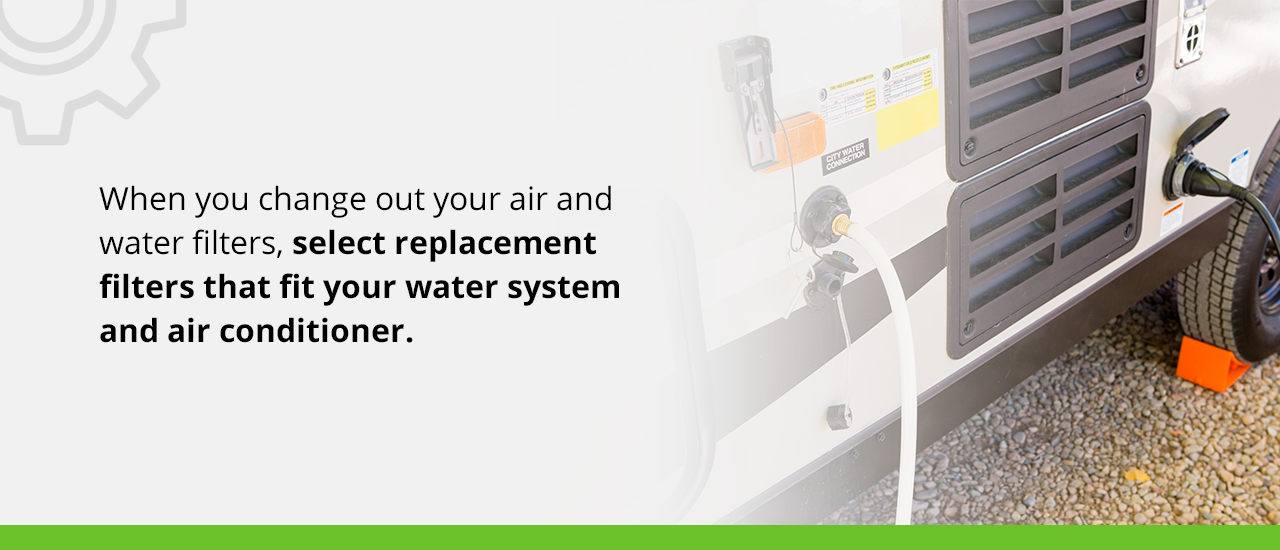
Step 6 — Change Filters
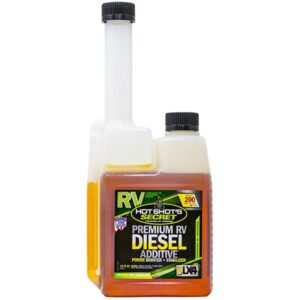
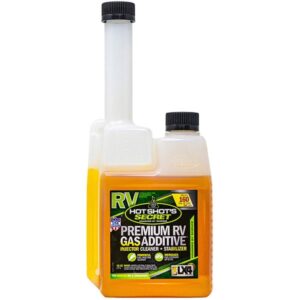
Replace air filters and fuel filters in engine driven RVs or generators. Old filters trap debris and a clogged fuel filter can cause breakdowns. Select replacement filters that fit securely. Add Hot Shot’s Secret Premium RV Diesel Additive for diesel engines or Hot Shot’s Secret Premium RV Gas Additive for gas engines to improve fuel mileage and quality.
Step 7 — Test Safety Devices
Check whether safety devices work. Your RV should have a carbon monoxide detector, smoke alarm, LP detector and fire extinguisher. Replace batteries in powered devices. Test the smoke alarm and carbon monoxide detector. Review the fire extinguisher expiration date. If you have a dry powder extinguisher, shake it to ensure the powder is evenly distributed.
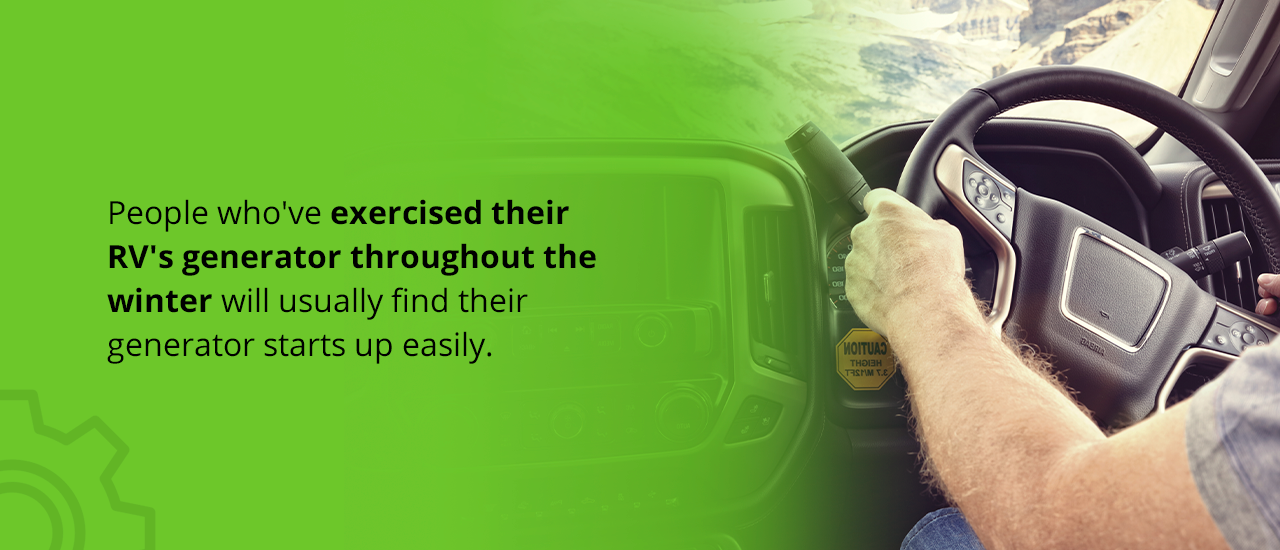
Step 8 — Run the Generator
Before turning the generator on, ensure there is no damage to the exhaust system. Check oil level. If it’s low, have a professional service it.
If you didn’t run the generator during storage, start and run it for two hours with a half-rated load. Add Hot Shot’s Secret products to protect the engine and fuel system.
Step 9 — Inspect Windows and Air Vents
Ensure windows open fully. Leave windows open briefly to let out stuffy air. Inspect air vents to ensure they allow air into your camper. Vents circulate fresh air, prevent excess humidity and stop toxic gas buildup when you use the heater.
Step 10 — Check the Engine and Lights
Ensure lights and controls work. Inspect the engine for damage. If you spot any damage, have a mechanic inspect it. Start the RV and verify windshield wipers, taillights, headlights and dash lights are operational. Add Hot Shot’s Secret RV Engine Protector to a fresh oil change to clean and reduce wear.
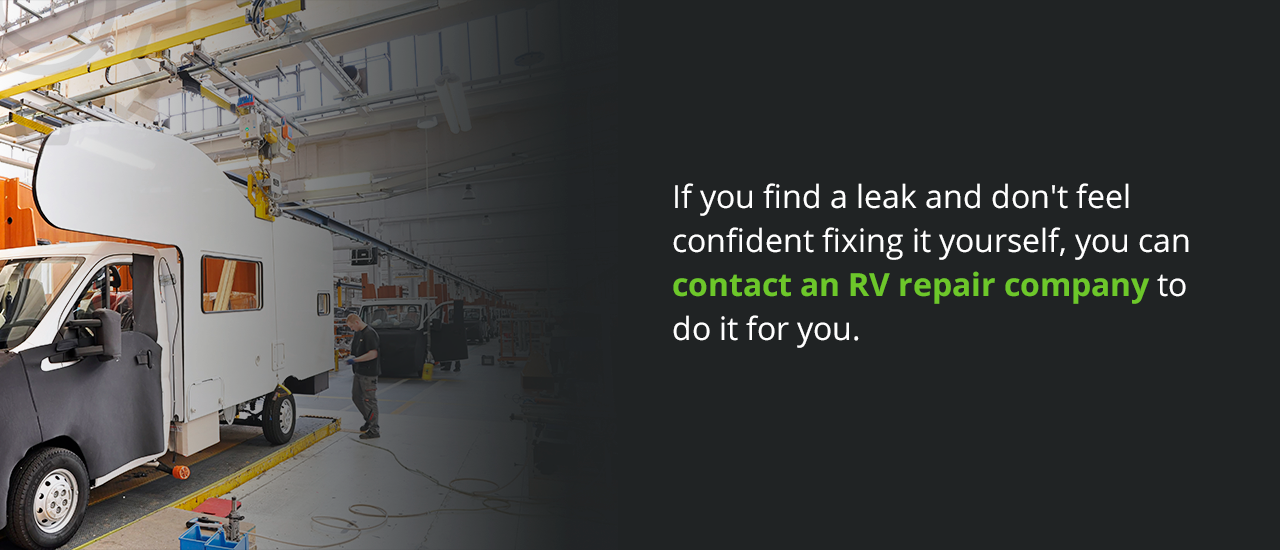
Step 11 — Inspect for Leaks
Verify your freshwater tank contains adequate water and start your electric pump. Let it pressurize your water system, waiting until the pump automatically shuts off. If your pump doesn’t turn off or begins pressurizing again, your system has a leak. Look under the sink and around the toilet for leaks. Address leaks immediately to prevent mold and damage.
When you check the fluid level, you’ll want to retract all of the slideouts and jacks. For RVs with awnings, you can check if they close and open fully. Additionally, you may want to see if the awning’s fabric is in good condition.
Before you take the RV out of hibernation, you can also use a lubricant on the slideouts to ensure they operate smoothly and quietly. Our RV Slide-Out Lubricant protects slideout mechanisms against corrosion and rust. All you have to do to use the lubricant is pull out the slideouts and spray their gears and tracks.
Use RV Maintenance Products From Hot Shot’s Secret
While we touched on some of our top RV products at Hot Shot’s Secret earlier, you may want to know more about how they can help your RV run at peak efficiency. Since you’ll already be working on your RV during the de-winterization process, it’s the perfect time to utilize our RV maintenance products. Many RV owners love adding them to their camper since they provide several benefits, such as improving your fuel or engine’s performance and keeping important parts clean.
Find out more about how these products can benefit your RV below.
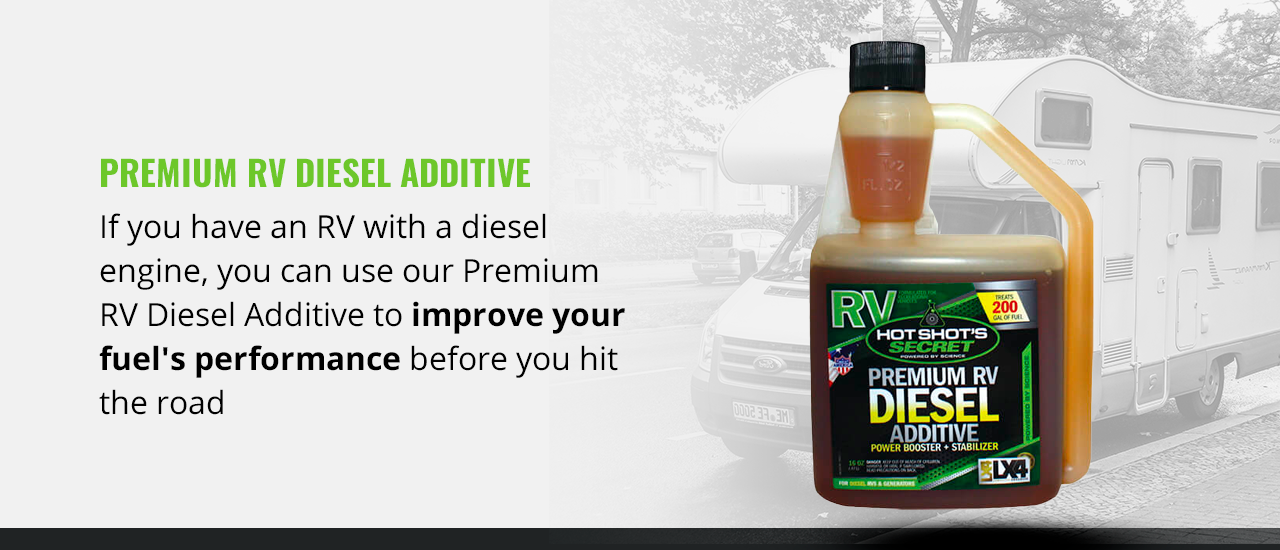
1. Premium RV Diesel Additive
If you have an RV with a diesel engine, you can use our Premium RV Diesel Additive to improve your fuel’s performance before you hit the road.
Since this additive improves your diesel’s cetane rating, it provides your engine with better fuel economy and gives it more power. These additives also increase your fuel’s lubrication, promoting greater reliability and longevity. Plus, they improve your fuel’s stability to assist with extended storage and prevent varnish and gum from building up in your fuel system.
2. Premium RV Gas Additive
Like our diesel additive, we’ve designed our Premium RV Gas Additive to improve a gas-powered engine’s fuel. When you add this fuel additive to your RV, you can expect it to clean your fuel injectors for better performance. These products also clean the whole fuel system, removing deposits from the intake valve and combustion chamber. As a result of this cleaning, you’ll receive greater power and fuel economy. Finally, these additives stabilize your gas and lubricate it to assist with safer extended storage.
3. RV Engine Protector
Before you start up your RV again and drive around the country, add our RV Engine Protector to your engine to protect it.
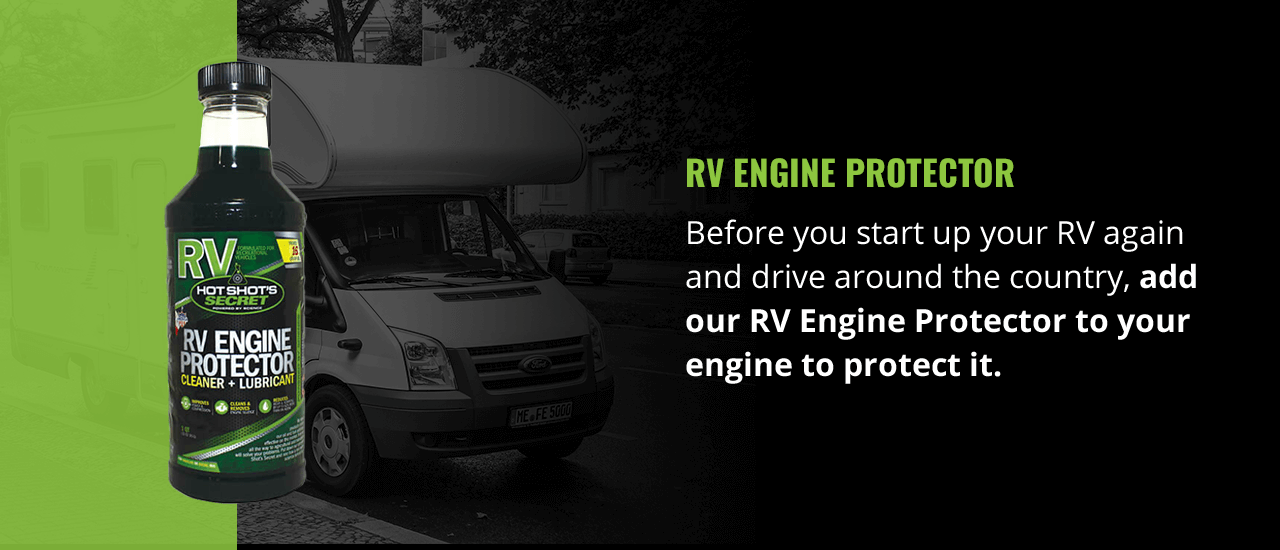
We’ve formulated this premium RV oil additive to increase your engine’s reliability and performance. When you add it to your engine, it’ll clean out harmful varnish, debris and stiction. The product also features our patented FR3 Nano Lubricant, which significantly reduces engine friction and lowers wear by 62%. You can use this product in any gasoline or diesel engine.
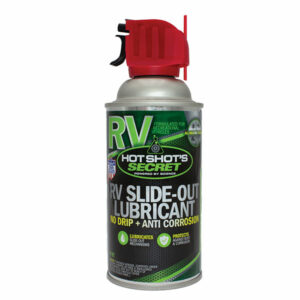
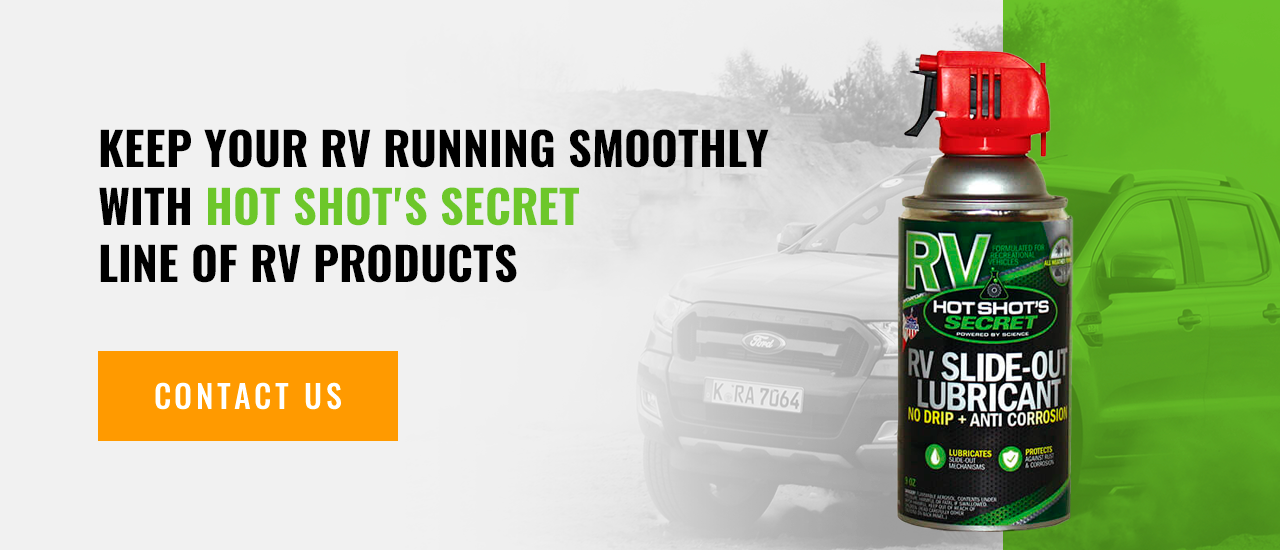
4. RV Slide-Out Lubricant
When you’re de-winterizing, treat your RV by using our RV Slide-Out Lubricant on its slideouts. We’ve specially formulated this product to prevent common dangers, like corrosion and rust, from forming on key components. This RV spray lubricant also extends the lifespan of your slideouts, and you can safely use them on vinyl, rubber, plastic and metal. Many RV owners love how the product ensures their slideouts operate quietly and smoothly.
5. RV Trans Protector
After taking your RV out of storage, be proactive in protecting your RV maintenance by using our RV Trans Protector. We’ve specially formulated this product to combat common transmission issues, such as rough operation, burning fluid and poor or inconsistent shift quality. As a transmission additive, the product cleans out any debris and varnish from the transmission, helping your RV run quieter and improve shift quality. The RV Trans Friction also reduces friction, decreasing potentially damaging high operating temperatures as a result.
FAQs About De-Winterizing Your RV
Below are answers to some of the most common questions about de-winterizing RVs and camper vans.
How Do I De-Winterize My RV?
De-winterizing involves charging batteries, checking fluids, flushing the water system, lubricating slideouts, checking tire pressure, replacing filters, testing safety devices, running the generator, inspecting windows and vents, checking the engine and inspecting for leaks.
How Long Does De-Winterization Take?
Plan for three to six hours, depending on the RV’s size and condition.
Can I Drive My RV Without De-Winterizing?
No. Driving without de-winterizing risks engine damage, burst pipes, battery failure and tire blowouts.
Do I Need Professional Help to De-Winterize My Camper?
Many RV owners know how to de-winterize a camper with basic tools and mechanical knowledge. If you’re uncomfortable with engine work or propane systems, hire a certified technician for safety.
How Do I Winterize My RV for Next Season?
Winterization involves draining the water system, adding antifreeze, stabilizing fuel, removing batteries and covering the RV.
Prepare Your RV for a Safe and Fun Season
Each de-winterization step prevents costly repairs and ensures safe operation. Hot Shot’s Secret products are Powered By Science and backed by the best money-back guarantee in the industry. Most orders over $49 ship free. Contact us if you need help finding the right products to keep your RV running smoothly.