As the temperature starts to dip lower it is time to start prepping for the upcoming winter season. If you own a camper of any type – Motorhome, travel trailer or pop up – it means more than just prepping the plumbing system from old man winter. With the proper care and attention, your home away from home can last several years trouble-free.
Our top 10 items to complete before placing your camper into winter storage:
-
- 1. Clean the unit and remove any food items
-
- 2. Winterize the plumbing system
-
- 3. Disconnect all electronics
-
- 4. Turn off the propane
-
- 5. Changing the oil and adding fuel stabilizer
-
- 6. Look for roof leaks
-
- 7. Check and lubricate the slide unit
-
- 8. Clean the awning
-
- 9. Park and stabilize the unit
- 10. Cover the camper
1. Clean the unit and remove any food items
Start by unpacking the unit. Take any valuables indoors. Remove of any food or crumbs in the vehicle. Wipe down floors and surfaces including cabinets, countertops, oven, microwave, refrigerator, closets, toilets and showers. Also remove and clean any sheets, bedding or curtains. Don’t leave anything behind that will attract bugs.
Unplug the refrigerator and clean out the ice maker. Empty all contents. Defrost the interior, and prop open both the fridge and freezer doors to prevent mold.
Cleaning everything before you store your RV for winter will also make it quicker to get back on the road once the camping season begins again.
2. Winterize the plumbing system
Winterizing the plumbing system is the most labor-intensive task in the process. It can be done using compressed air or a non-toxic antifreeze. Frozen pipes can burst, causing leaks and expensive replacement parts in the spring if it’s not done properly. We are not going to cover the process in this article, but many RV Winterizing resources explain the process well.
3. Disconnect all electronics
Now that your camper has been cleaned and the plumbing system drained, it’s time to winterize the electric system. Start by disconnecting all electronics: TVs, stereos, small electronics, coffee maker and anything else plugged into the outlets.
Disconnect the batteries and store them in a room temperature location if possible. Batteries left in sub-freezing temperatures will have significantly shorter lifespans.
4. Turn off the propane
If you have portable propane tanks remove them. Otherwise, locate your onboard propane tank in the outside compartment of your camper. The shutoff valve will be attached to the tank itself. Turn it all the way to the right, or clockwise, to ensure that it is shut off.
5. Changing the oil and adding fuel stabilizer
When parking your RV for long-term storage (6 months or more) it’s a good idea to change the oil and filters before packing it away. Adding RV Engine Protector cleans the gum and varnish built up in your engine while also lubricating everything the oil touches inside your engine. It also contains our patented FR3 Nano Lubricant to greatly reduce friction inside the engine, reducing wear up to 62% more than oil alone and improving engine efficiency. Use in any diesel or gasoline engine to improve fuel economy and power, reduce wear and increase engine reliability.
Additionally, you should add fuel stabilizer to both the RV tank and your generator tank. Follow the stabilizer instructions and let the engine and generator run for a few minutes to give the stabilizer time to work through the system. Hot Shot’s Secret offers a fuel stabilizer and conditioner for both gas and diesel engines. Either additive will prevent gumming and varnish from forming in the fuel system and stabilize fuel for long-term storage and protection.
RV Premium Gasoline Additive improves the fuel economy and power of gasoline engines by cleaning the entire fuel system, removing combustion chamber and intake valve deposits while also lubricating. RV Premium Diesel Additive boosts diesel’s lubricity and cetane rating, creating more power and better fuel economy.
6. Look for roof leaks
Now get on a ladder and look at the roof. You don’t want to go inside next spring and find out the roof was leaking. Pay special attention to the area surrounding vent fans, air conditioners, antennas, wiring or exhaust pipes. Inspect the area for leaks and apply lap sealant where necessary.
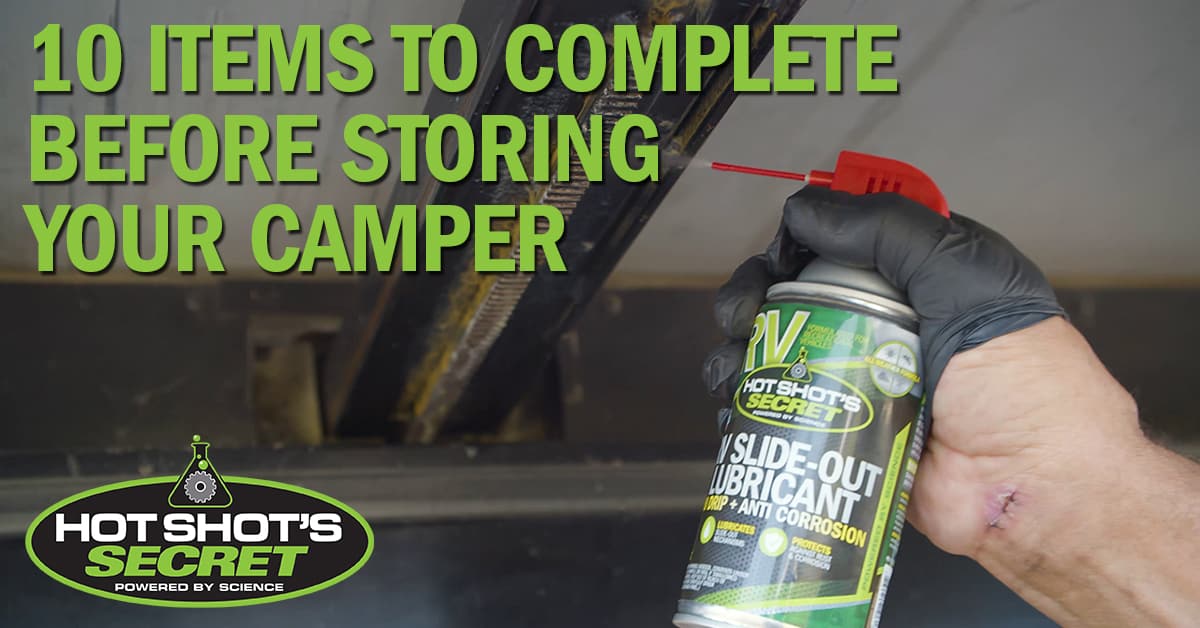
7. Check and lubricate the slide unit
If your camper has a slide out take the time to inspect and lubricant before storage. Use RV Slide-Out Lubricant on all key components and check over the seals for wear.
8. Clean the awning
Roll out the awning and clean the fabric using RV awning cleaner. Do not use dish detergent or cleaners that contain de-greasers because they could cause cracks in the awning when they dry out. Let dry completely before closing. This is a great time to wash and wax the outside of your RV as well.
9. Park and stabilize the unit
Now that your camper is clean and winterized you will need a place to park and store it. You’ll want to find a level surface and stabilize the tires using wheel chocks. For towable campers, use a sturdy camper jack or stabilizer to prevent the vehicle from moving. Some RV travelers take things a step further and jack their campers off the ground–stabilizing with concrete or wood blocks. This will keep your tires from developing flat spots when sitting for long periods of time. If you have a motorized RV, park it with the emergency brake engaged.
10. Cover the camper
It’s finally time for the tuck-in! Find a breathable camper cover that is designed for winter weather. If your camper has sharp edges, you might want to cover them with some old towels or rags so that they don’t put holes in your cover.
Don’t forget to cover your tires if they’re exposed under the cover as well, to prevent dry rotting.
A Winterized Camper Is A Happy Camper
Winterizing your camper the right way will save you a lot of hassle and expense. Next spring you will feel confident you will be ready to make that first trip in no time with the proper preparation this fall.